
Setting Up Your Account
There are a few things you need to do to get your Harvest Profit account up-and-running.
Note - To download the following step by step picture guide, please click the following link.
1. Add your Fields/Land Cost in the
Fields tab.

2. Click
New Field.

3. Enter a Name, Owner, and the acres for the field, then click
Save this Field.

4. Add your crops in the
Settings tab (located on the bottom menu bar).

5. Under the New Crop header, enter a
Name or select from the dropdown.

6. Next, select a
Sell As crop, then click
Add Crop.

7. Add your basis amount for each applicable crop, then click
Save Crops.

8. Add your
Budget Price for any other crops, then click
Save Crops.

9. Go to the
Crop Planner tab for the applicable year to assign a
Crop to each field.

Then, click the drop down arrow to select a
Crop and
Entity Share for each crop.
Lastly, click
Save Crop Plan.

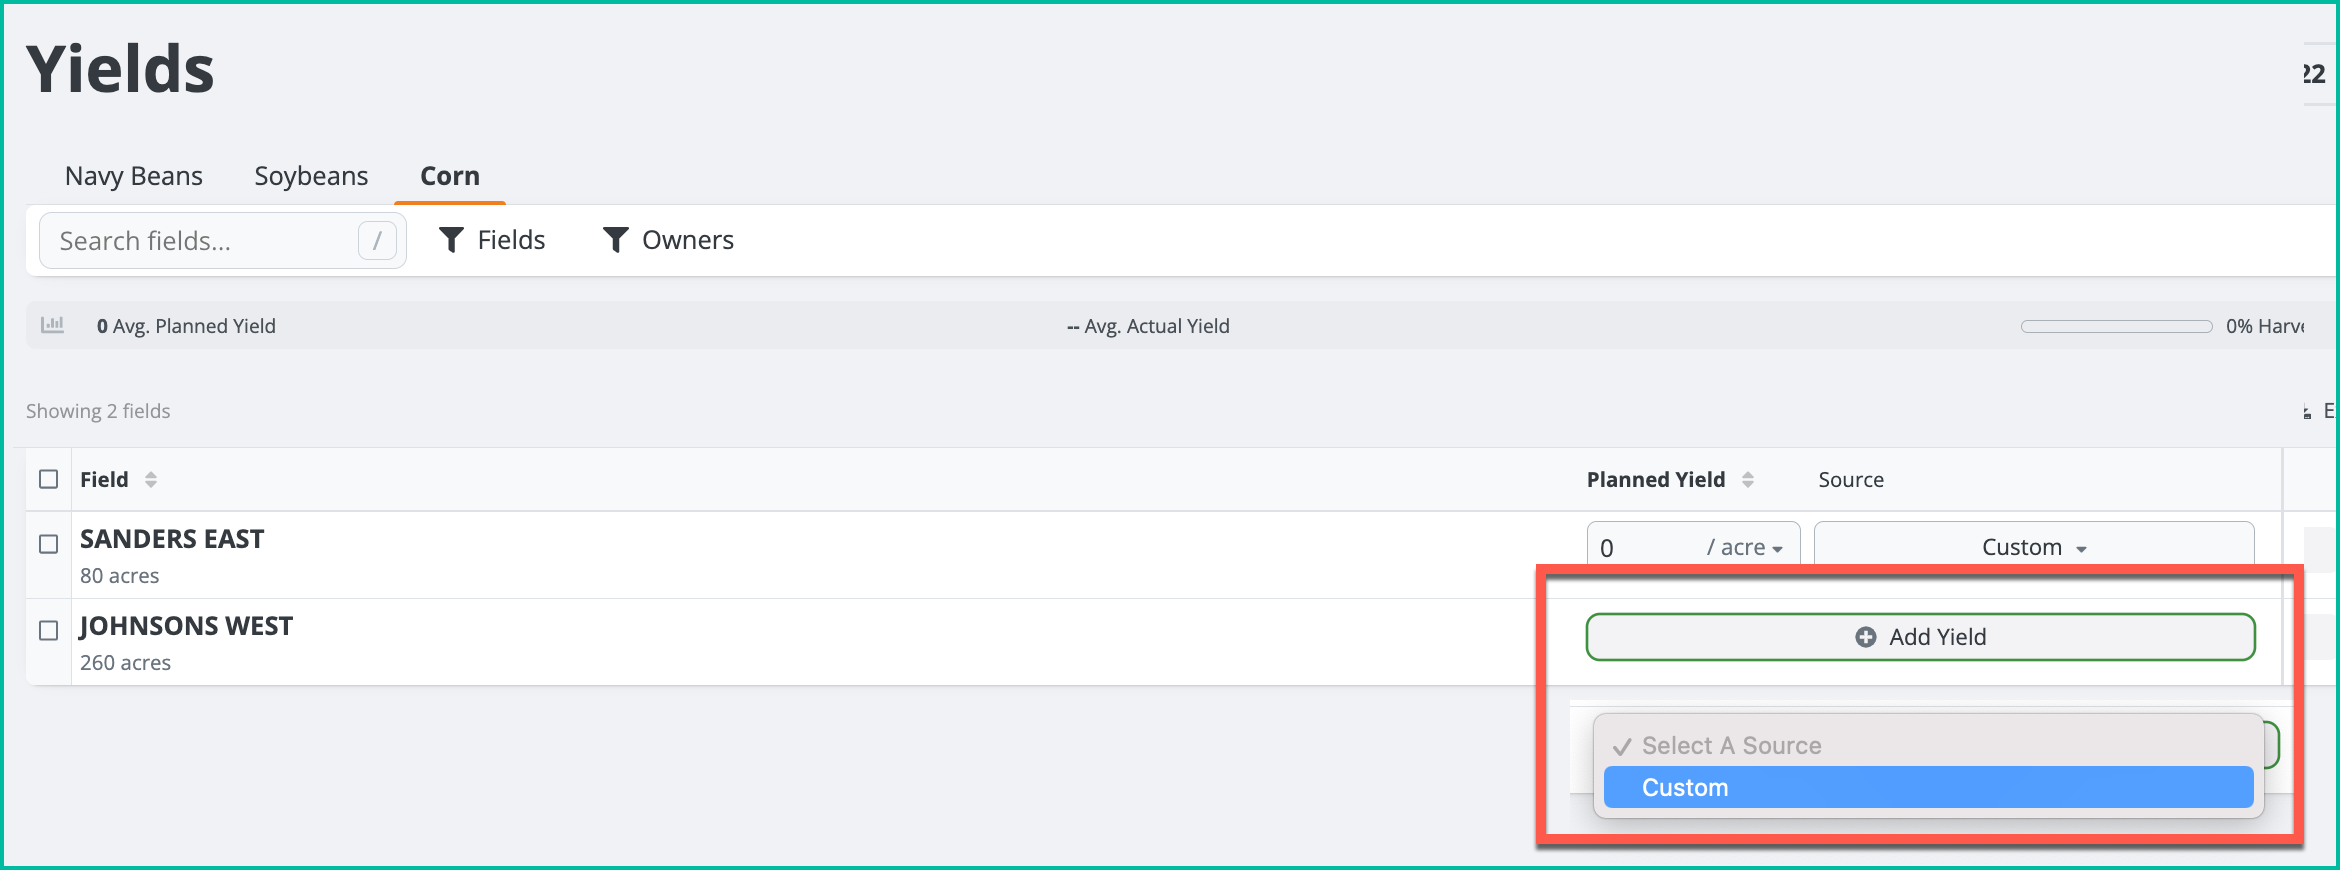
10. Go to the
Yield tab, and assign a yield to each field.
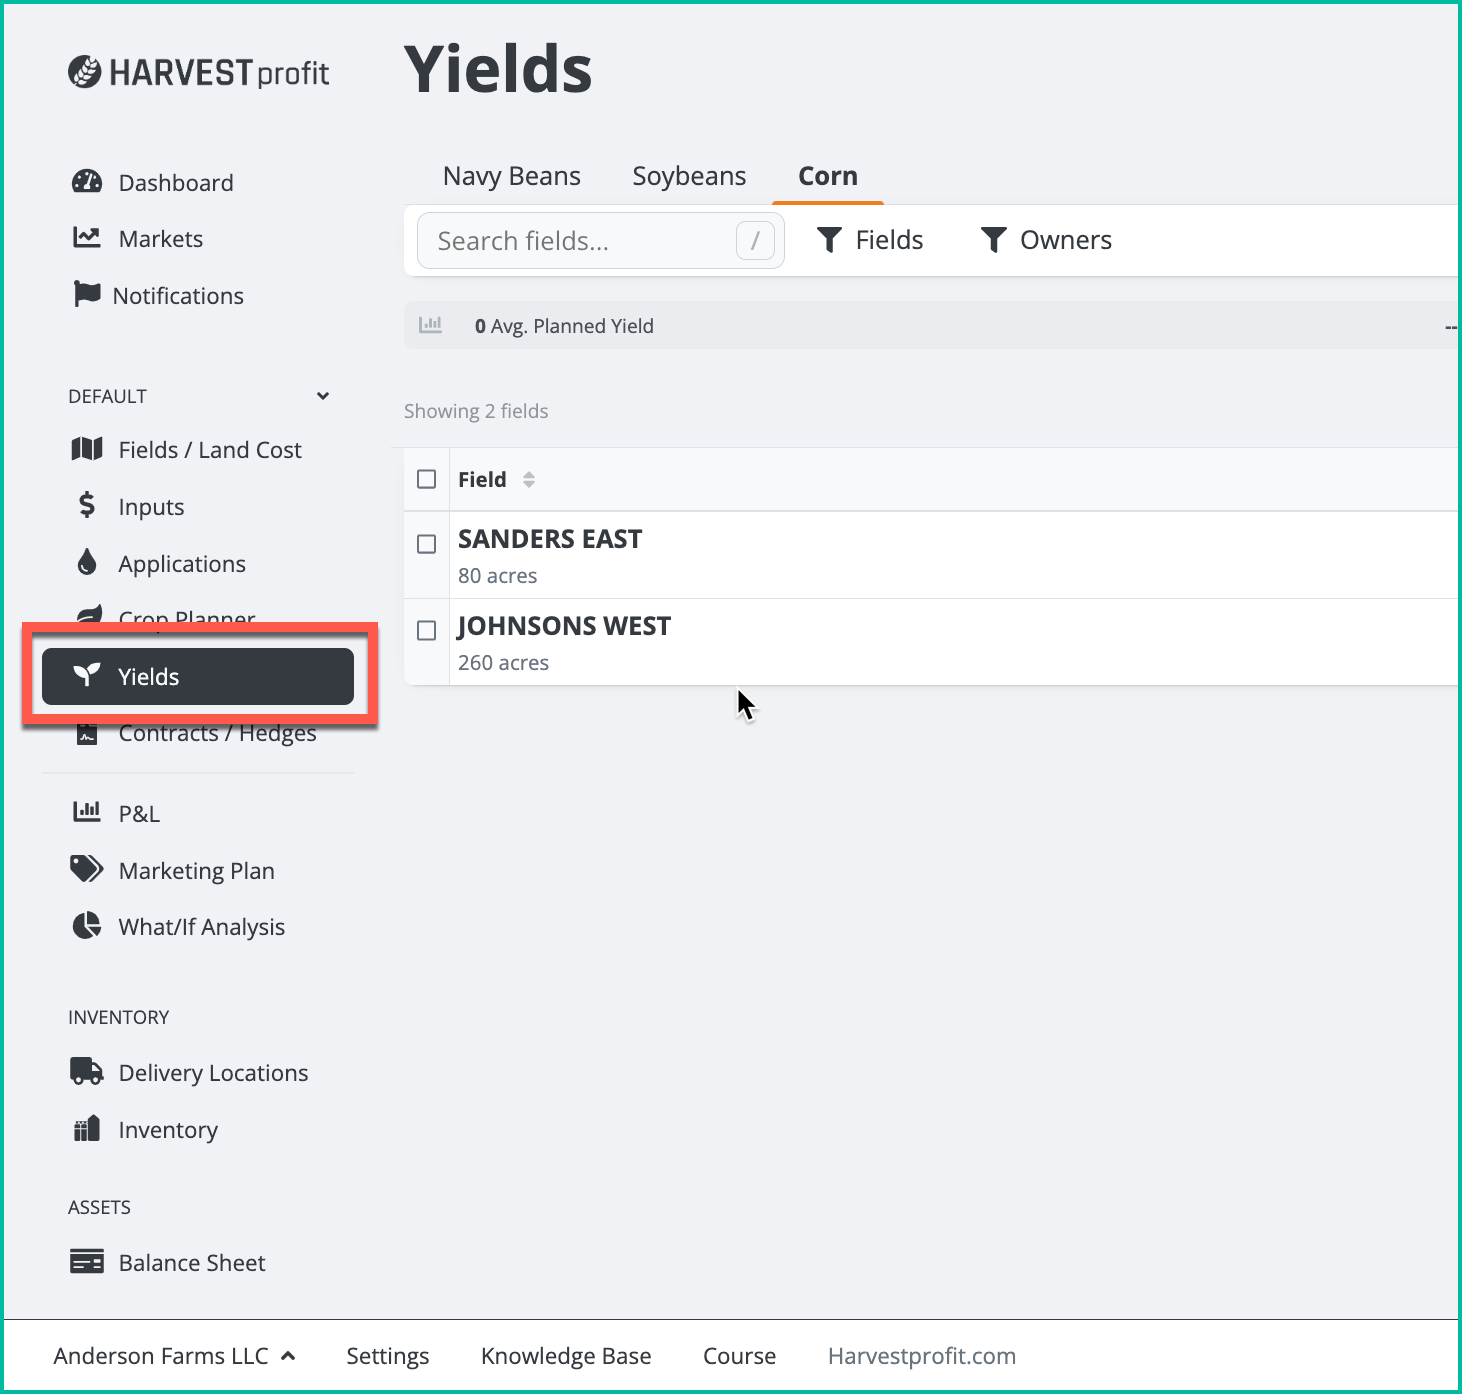
To add a Yield, click
Add Field, then click
Custom. Then, enter desired planned Yield.
Note - The amount entered will automatically save.

11. To add your inputs/expenses, go to the
Inputs tab.

Next, click
Add Fertilizer. Enter a
Description,
Cost, and select the
Unit applicable.
Note - Continue this process for Seed and Chemical.

12. To "Apply" fertilizer/seed/chemical rates for each field, go to the
Applications tab.

Next:
1. Click the
Field row you want to apply rates to.
2. Click
Add Application.
3. Click
Fertilizer.

Next, select the products you want to apply, then click
Apply Product.

Lastly, enter a rate
Amount and
Set Acres. Click
Finish, and then click
Save Applications.

Note - Steps #9 and 10 are essential for initial P&L calculations.
If you need additional guidance, please review our
Knowledge Base for more Help articles.
If you would like email or schedule a meeting with support, please email us at
Support@harvestprofit.com or
Schedule a call.